All Categories
Featured
Table of Contents
- – Mercedes Sprinter Repair Near Me Walnut, CA
- – OCRV Center
- – Handicap Van Repair Near Me Walnut, CA
- – Sprinter Repair Shops Near Me Walnut, CA
- – Mobility Van Repair Near Me Walnut, CA
- – Sprinter Repair Shops Near Me Walnut, CA
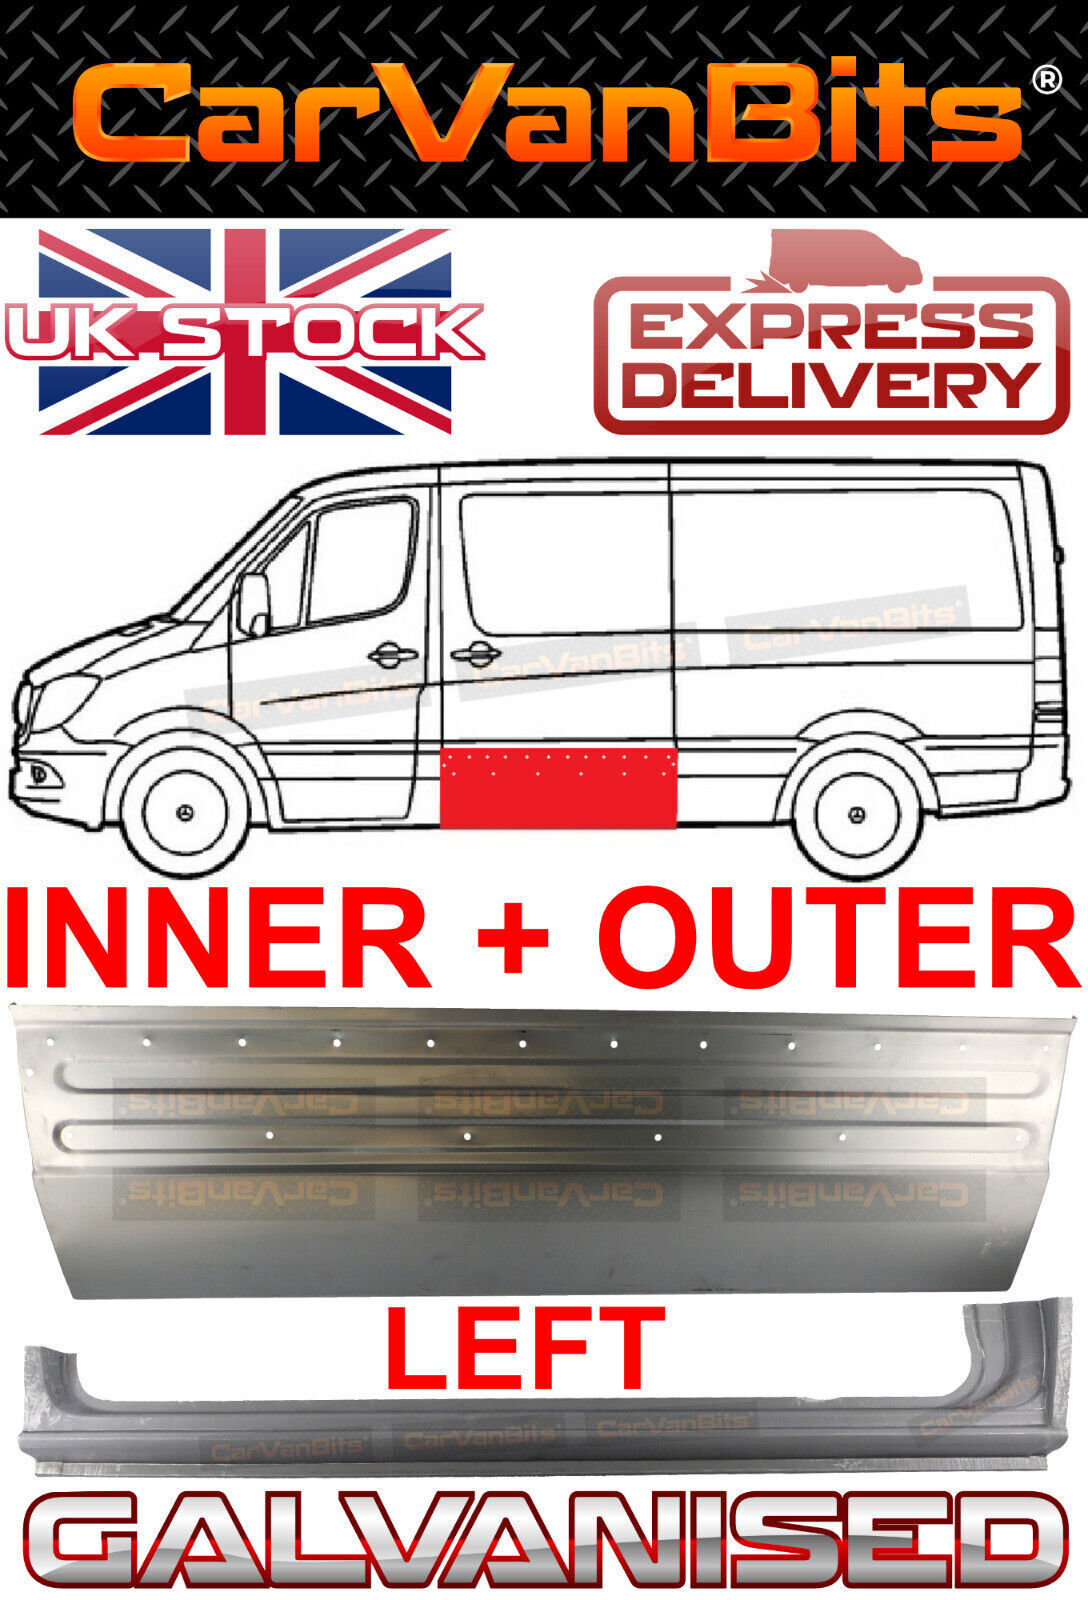
- – Rust Repair Sprinter Van Walnut, CA
- – Van Repair Shops Near Me Walnut, CA
- – Sprinter Van Repair Shop Near Me Walnut, CA
- – Mercedes Sprinter Van Repair Walnut, CA
- – Sprinter Repair Near Me Walnut, CA
- – Wheelchair Van Repair Shops Near Me Walnut, CA
- – Mercedes Sprinter Repair Near Me Walnut, CA
- – Sprinter Repair Shops Near Me Walnut, CA
- – OCRV Center
Mercedes Sprinter Repair Near Me Walnut, CA
i Reside in Chile, following to Argentina, and have to tell you that OEM windshield is manufactured by Pilkington for my T1N in Argentina, they sold it under their own brand name as well, the only difference is that OEM comes with a 3 point celebrity, and pilkington is created smaller sized, i assume that disappeared your doubts.
Sadly we do not have any images of the application process, because the bed liner is very sticky and obtains everywhere. It was impossible for us to utilize our video camera. Initially we applied the bed lining with brushes in the hard to reach locations-- anywhere the roller would not get to. With the brushes, you require to utilize a swabbing rather than a cleaning method so as to get the right texture.
After the hard to reach locations all had one layer, we returned and did a 2nd layer again with the brushes. The instructions claim to wait 15 mins before using a second coat, however we were able to offer it more time to completely dry. By the time we had finished one side of the van the opposite side had actually currently been drying for regarding 30 mins.
Again we had the ability to function without awaiting the bed liner to dry, because by the time we had actually used the first coat to 2nd side of the van, the other side's first coat was completely dry adequate to apply the 2nd layer. When the 2nd coat was dry on the entire van, we did a little bit of touching up anywhere the appearance wasn't fairly.
Handicap Van Repair Near Me Walnut, CA
Sprinter vans are a dependable and important financial investment, however like any type of lorry, they call for care and attention. By remaining proactive with upkeep and fixings, you can maintain your Sprinter running efficiently for many years ahead. Learn even more regarding Sprinter repair services in your location.
Commonly, when these vans are developed, you can obtain little plates of steel back there that can rust. This isn't certain to the Revel; it's something you should examine on Sprinter vans.
Sprinter Repair Shops Near Me Walnut, CA
Use a Flathead screwdriver or a tiny pick device to stand out these plastic covers off. You'll require to get rid of these covers and continue along, popping them out.
You might discover additional screws under the floor mat holding down the back of the van that require to be eliminated. There are a couple of screws on the back screens that require to be eliminated.
Now, consider the metal below. As I stated, littles of steel can obtain deposited back below during the van's building and construction, producing opportunities for rust. This isn't regrettable contrasted to the majority of vans I have actually seen, but it's still worth drawing this off and cleansing it. It takes around 5 minutes.
For rust removal, I suggest utilizing Rust-Oleum Rust Reformer, one of my favored products. Spray it on the spots where corrosion has actually started to form, particularly in the corners.
Mobility Van Repair Near Me Walnut, CA
With many of the rust taken treatment of, reassembly is just the reverse of the elimination procedure. It was a little bit complicated to re-install the plastic item, it called for levering the behind in first, getting it under the plywood, and after that snapping it into area with a flathead screwdriver.
It was a bit fiddly, yet I took care of to snap all of it back in place. After that, you require to drop the plastic bolts back in with the tabs encountering the back of the van. Ultimately, snap the various other items back into location. Currently you have the assurance recognizing there's no rust under your rear trim.
Sprinter Repair Shops Near Me Walnut, CA
Offer us a call at (866) 695-8267 and we'll be delighted to aid you. No phone call facilities, no out of state agents - simply our van experts at our HQ in Arizona. A lot more soon, John Willenborg.
We understood concerning this when we obtained the van, & had concurred that we would obtain brand-new doors if we truly had to. Andrew chose to make an attempt at fixing them up himself, and consequently saving us a bit money! Even if the 'spruce up' lasts for a couple of years, & we ultimately have to obtain a new door/s, then at the very least it saved us some money in the beginning of our conversion which we can invest on something else.
Although we write our blog site to aid others with their build & suggest products & materials that we have used - please constantly do lots of research and do choose approaches that you feel comfortable with & that fits your van construct & needs! Our Sliding Door Prior to we fixed it EEEK !! Disclaimer: This website contains affiliate web links as component of the Amazon Associates Program.
When we were pleased we had eliminated as high as we could, we after that fined sand any kind of areas of corrosion to the bare steel, using our detail sander. We used After we 'd ended up sanding, we after that used the to treat the rustic places on both our back door and our sliding door.
Rust Repair Sprinter Van Walnut, CA
Next we appliedfor the holes. We after that fined sand that down by hand once it had actually solidified, utilizing Then we ordered the and applied it. Once it had actually solidified we rubbed it down with Aluminium mesh molded to the shape of the door This is what the ISOPON appears like when it has set The final step was merely to use 2 layers of grey guide complied with by two layers of We did this step on both our back entrance and sliding door.
I started my horticulture service with a 2004 transportation T280 85PS SWB.It was marketed to me with 6 months MOT.However - before I used it, I removed the front end off the van, front light panel, wings, bumper - the great deal. And I got rid of the total taxicab interior - seats, dashboard, flooring mats - all of it.
Van Repair Shops Near Me Walnut, CA
Both Side steps - no longer existed, but they are hidden by the plastic step covers - so one would certainly never understand unless you provide an excellent excavating from below. Fitted brand-new steps, new inner sills, new external sills.
I tossed the in the towel. It already had unexpectedly become scabby throughout in those 18 months to 2 years. I have been a technician for 27 years - and Transits are absolute rust buckets. Below they are the worst for rot versus any type of various other van. I did my research, on Renault, Merc, Nissan, Toyota, Iveco, VW, Vauxhall, Fiat, Citroen, Peugoet & Ford Transit - I chose on a Mercedes Sprinter 313 LWB.Renaults are crap for Transmissions, engines & Electrics.
Sprinter Van Repair Shop Near Me Walnut, CA
Every other Merc Sprinter marketed has 250,000 to 450,000 miles on it, which means they appear to have not a problem covering the miles, where as every various other Transit advertised - is either a blown engine or just had a replacement engine. They all leak oil once they obtain passed 100,000 miles.
The engine was utilized in Jaguar X Types, Mondeos, Land Rover Protectors, - all leak oil from the front oil filter housing area. The Merc is a far remarkable drive to the Transits. So I chose a 114,000 mile, 2013MY, Sprinter CD313 LWB.Had a tow bar fitted so I might pull my trailer.
I discover I am obtaining disappointed with cars slowing my progress. A lot more storage space by miles in the Merc over the Transportation, in the doors, under the seats and over the head.
Mercedes Sprinter Van Repair Walnut, CA
Merc offer you 2 storage space boxes under the seats. And the doors have extra storage space under the necessary door pockets. For me its a Mercedes Sprinter - later ones must not be as poor as early Sprinters. They will certainly last better on the bottom, yet less complicated to track corrosion on the top, and repair work.
Additionally - lease a brand-new automobile and alter it every 3 or 4 years - obtain any make you desire - as it will have guarantee, but you angle avoid down time from your service whilst you have a van in for mechanical or electrical repair work even under warranty. Mobility Van Repair Near Me Walnut. That's my point of view
I might be wrong - and I will certainly have a container of rust in year - view this room.
We knew regarding this when we obtained the van, & had concurred that we would certainly obtain new doors if we truly had to. Andrew made a decision to make an attempt at fixing them up himself, and as a result conserving us a bit money! Also if the 'fix up' lasts for a pair of years, & we at some point have to obtain a brand-new door/s, then at the very least it saved us some money in the beginning of our conversion which we might invest on another thing.
Sprinter Repair Near Me Walnut, CA
Although we create our blog site to aid others with their develop & advise items & materials that we have actually utilized - please always do lots of study and do select methods that you really feel comfortable with & that fits your van construct & requires! Our Gliding Door Prior to we repaired it EEEK !! Disclaimer: This site includes associate web links as part of the Amazon Associates Program.
As soon as we were satisfied we had actually eliminated as a lot as we could, we after that fined sand any areas of corrosion to the bare steel, using our detail sander. We utilized After we would certainly ended up sanding, we then applied the to deal with the rusty areas on both our back entrance and our moving door.
Wheelchair Van Repair Shops Near Me Walnut, CA
Next we appliedfor the openings. We after that fined sand that down by hand once it had actually solidified, using After that we grabbed the and applied it. Once it had solidified we rubbed it down with Aluminium mesh molded to the shape of the door This is what the ISOPON looks like when it has established The final step was merely to use 2 layers of grey guide followed by two layers of We did this step on both our back door and moving door.
At Bumper Plus Autobody, we specialize in Sprinter corrosion repair, specifically around the windshield area. Below's our process: Remove the windshield to reveal all concealed rust.
Mercedes Sprinter Repair Near Me Walnut, CA
Repaint and seal the steel for long-term security. Re-install the windscreen using factory-grade products and procedures. Corrosion around the windshield does not just look badit worsens in time. Whether you're driving for service or experience, a rust-free Sprinter is important for security and resale value.
When I started staying in my van full-time, I was so stired to hit the trail that all I had was a system for my bed and some minimal storage.
Sprinter Repair Shops Near Me Walnut, CA
The standard hardener isn't much usage in UK winters in unheated workshops. The alu adds boosted barrier effect and more resistance to cathodic debonding. You can make use of Colad mixing cups to mix it (3.5:1 ratio), utilize the 7:1 range after that include 10% additional hardener in the thinners column and that obtains you 7:2 (exact same as 3.5:1) near as damn it.

OCRV Center
Address: 23281 La Palma Ave Yorba Linda, CA 92887Phone: (714) 909-1444
Email: art@ocrvcenter.com
OCRV Center
Undoubtedly depends upon the tools you have however generally go for St3 surface preparation. St2 is the bare minimum. I would use a corrosion awesome type product in the joint only, operated in well, after that go again with the cable wheel. I utilize 45% phosphoric acid generally, function it in allow it completely dry in the joint then wire wheel out once again, after that blast it out with brake cleaner yet any good rust killer or converter need to do the job.
Van Repair Walnut, CAMercedes Sprinter Van Repair Walnut, CA
Mercedes Sprinter Van Repair Near Me Walnut, CA
Sprinter Repair Shop Near Me Walnut, CA
Wheelchair Accessible Van Repair Walnut, CA
Sprinter Van Repair Shop Near Me Walnut, CA
Handicap Van Repair Near Me Walnut, CA
Handicap Van Repair Shop Walnut, CA
Wheelchair Accessible Van Repair Walnut, CA
Wheelchair Van Repair Near Me Walnut, CA
Mercedes Sprinter Repair Near Me Walnut, CA
Sprinter Van Repair Near Me Walnut, CA
Sprinter Repair Shops Near Me Walnut, CA
Van Customization Near Me Walnut, CA
Sprinter Repair Near Me Walnut, CA
Rust Repair Sprinter Van Walnut, CA
Van Repair Shop Near Me Walnut, CA
Sprinter Van Repair Walnut, CA
Van Repair Shop Near Me Walnut, CA
Wheelchair Van Repair Shops Near Me Walnut, CA
Sprinter Van Repair Near Me Walnut, CA
Mercedes Sprinter Van Repair Near Me Walnut, CA
Sprinter Repair Shop Walnut, CA
Sprinter Repair Shops Near Me Walnut, CA
Van Repair Walnut, CA
Sprinter Van Service Centers Walnut, CA
Mercedes Sprinter Van Repair Near Me Walnut, CA
Mercedes Sprinter Van Service Walnut, CA
Mercedes Sprinter Van Repair Near Me Walnut, CA
Sprinter Repair Near Me Walnut, CA
Wheelchair Van Repair Near Me Walnut, CA
Sprinter Van Service Near Me Walnut, CA
Mercedes Sprinter Van Service Walnut, CA
Handicap Van Repair Near Me Walnut, CA
Sprinter Repair Shop Near Me Walnut, CA
Sprinter Van Repair Near Me Walnut, CA
Mercedes Sprinter Van Repair Walnut, CA
Handicap Van Repair Near Me Walnut, CA
Handicap Van Repair Shop Walnut, CA
Handicap Van Repair Shop Walnut, CA
Wheelchair Accessible Van Repair Walnut, CA
Handicap Van Repair Near Me Walnut, CA
Sprinter Repair Shop Near Me Walnut, CA
Wheelchair Van Repair Near Me Walnut, CA
Handicap Van Repair Shop Walnut, CA
Sprinter Repair Walnut, CA
Mercedes Sprinter Van Repair Near Me Walnut, CA
Sprinter Van Repair Shop Near Me Walnut, CA
Van Repair Walnut, CA
Van Repair Walnut, CA
Wheelchair Van Repair Near Me Walnut, CA
Van Customization Near Me Walnut, CA
Mercedes Sprinter Van Service Near Me Walnut, CA
Sprinter Repair Walnut, CA
Van Repair Shop Near Me Walnut, CA
Sprinter Repair Shops Near Me Walnut, CA
Sprinter Van Repair Near Me Walnut, CA
Mercedes Benz Sprinter Repair Walnut, CA
Mercedes Sprinter Van Repair Walnut, CA
Sprinter Van Service Near Me Walnut, CA
Rust Repair Sprinter Van Walnut, CA
Sprinter Van Repair Walnut, CA
Mercedes Sprinter Van Service Walnut, CA
Sprinter Repair Shop Walnut, CA
Mercedes Benz Sprinter Repair Walnut, CA
Mercedes Benz Sprinter Repair Walnut, CA
Van Repair Shop Near Me Walnut, CA
Sprinter Van Repair Near Me Walnut, CA
Van Customization Near Me Walnut, CA
Wheelchair Accessible Van Repair Walnut, CA
Mercedes Sprinter Repair Near Me Walnut, CA
Van Customization Near Me Walnut, CA
Van Customization Near Me Walnut, CA
Van Repair Shop Near Me Walnut, CA
Handicap Van Repair Walnut, CA
Sprinter Van Service Near Me Walnut, CA
Sprinter Repair Shop Near Me Walnut, CA
Mercedes Sprinter Van Service Near Me Walnut, CA
Near Seo Service Walnut, CA
Near Seo Marketing Walnut, CA
OCRV Center
Table of Contents
- – Mercedes Sprinter Repair Near Me Walnut, CA
- – OCRV Center
- – Handicap Van Repair Near Me Walnut, CA
- – Sprinter Repair Shops Near Me Walnut, CA
- – Mobility Van Repair Near Me Walnut, CA
- – Sprinter Repair Shops Near Me Walnut, CA
- – Rust Repair Sprinter Van Walnut, CA
- – Van Repair Shops Near Me Walnut, CA
- – Sprinter Van Repair Shop Near Me Walnut, CA
- – Mercedes Sprinter Van Repair Walnut, CA
- – Sprinter Repair Near Me Walnut, CA
- – Wheelchair Van Repair Shops Near Me Walnut, CA
- – Mercedes Sprinter Repair Near Me Walnut, CA
- – Sprinter Repair Shops Near Me Walnut, CA
- – OCRV Center
Latest Posts
Laguna Niguel Best Supplemental Insurance For Seniors
Lake Forest Vision Insurance For Seniors Over 65
Cheapest Insurance For Seniors Lake Forest
More
Latest Posts
Laguna Niguel Best Supplemental Insurance For Seniors
Lake Forest Vision Insurance For Seniors Over 65
Cheapest Insurance For Seniors Lake Forest